Not only do these trees look amazing, but they’re cheap and fast to make … the perfect craft for a busy mom!
Here’s what you’ll need to make your own trees:
Styrofoam Cones
1/2+ Yard of Burlap
Twine
Small Pins

Burlap Tree Instructions
1. First, you’ll need to cut your burlap into 3″ – 5″ wide strips. Use my tip found here to easily cut your burlap in straight lines.
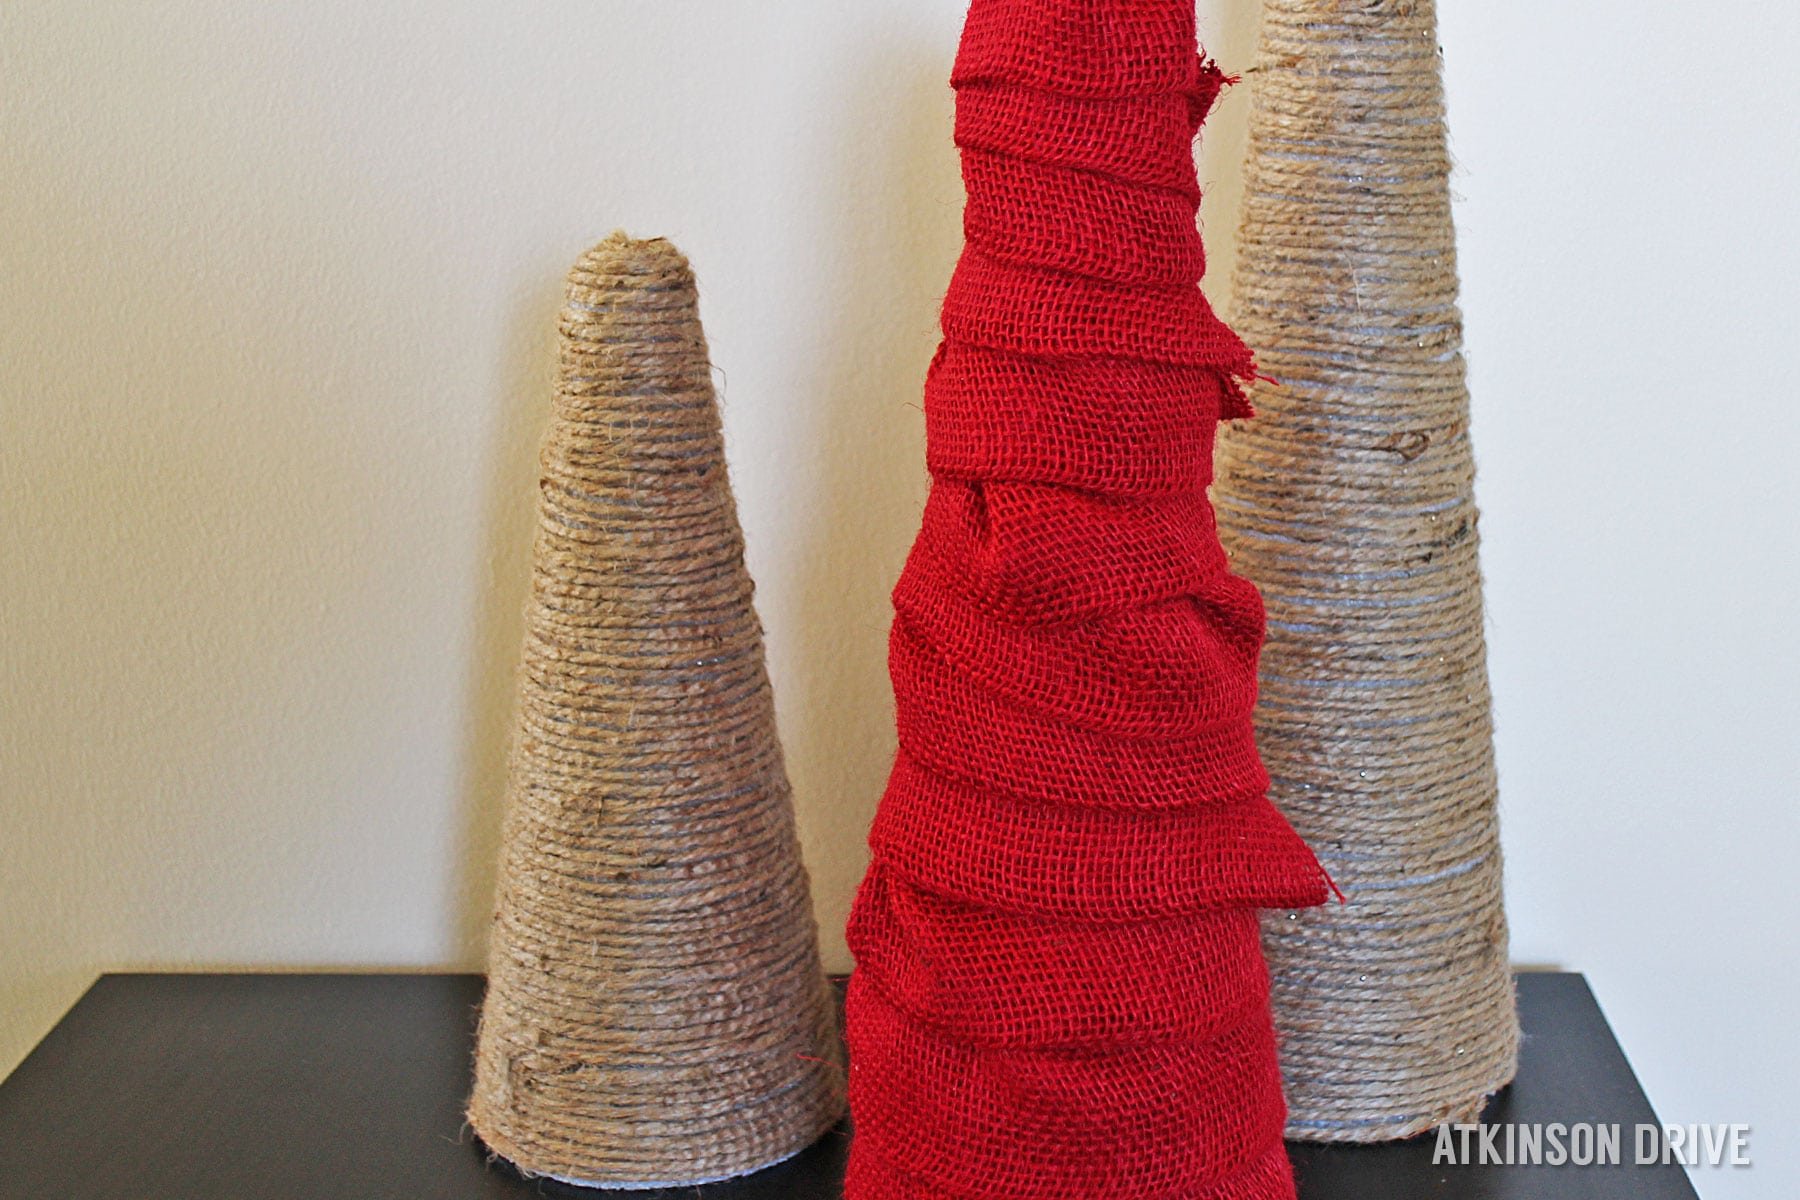
2. Fold the burlap in half (like a hot dog), and pin the end at the base of the tree (so the folded part is touching the table you’re working on). Wrap the burlap around the tree creating “layers,” pinning frequently. As you move up the cone, the burlap will fold into itself and start to get a ruffled look … don’t worry about it – that’s what gives it character! Pin the end of the burlap well, and continue with another piece. It looks best if you can keep the ends all in the back of the tree.
4. When you reach the top, cut off the excess burlap. Fold down the pieces almost like you were wrapping the end of a present, and secure with a bunch of pins!
Twine Tree Instructions
1. Pin the end of your twine ribbon to the base of your tree. Wrap the twine up the tree leaving as few gaps as possible. Pin every few inches to keep the twine in place.

2. Finish up by covering the tree top with twine and pin securely.
I told you it was easy. The great part about these burlap and twine trees is that – depending on how they’re styled – you really can use them all year round!
This is Day 5 of our 12 Days of Christmas Decorations series … check out all of the posts here.
 Loading...


Leave a Reply